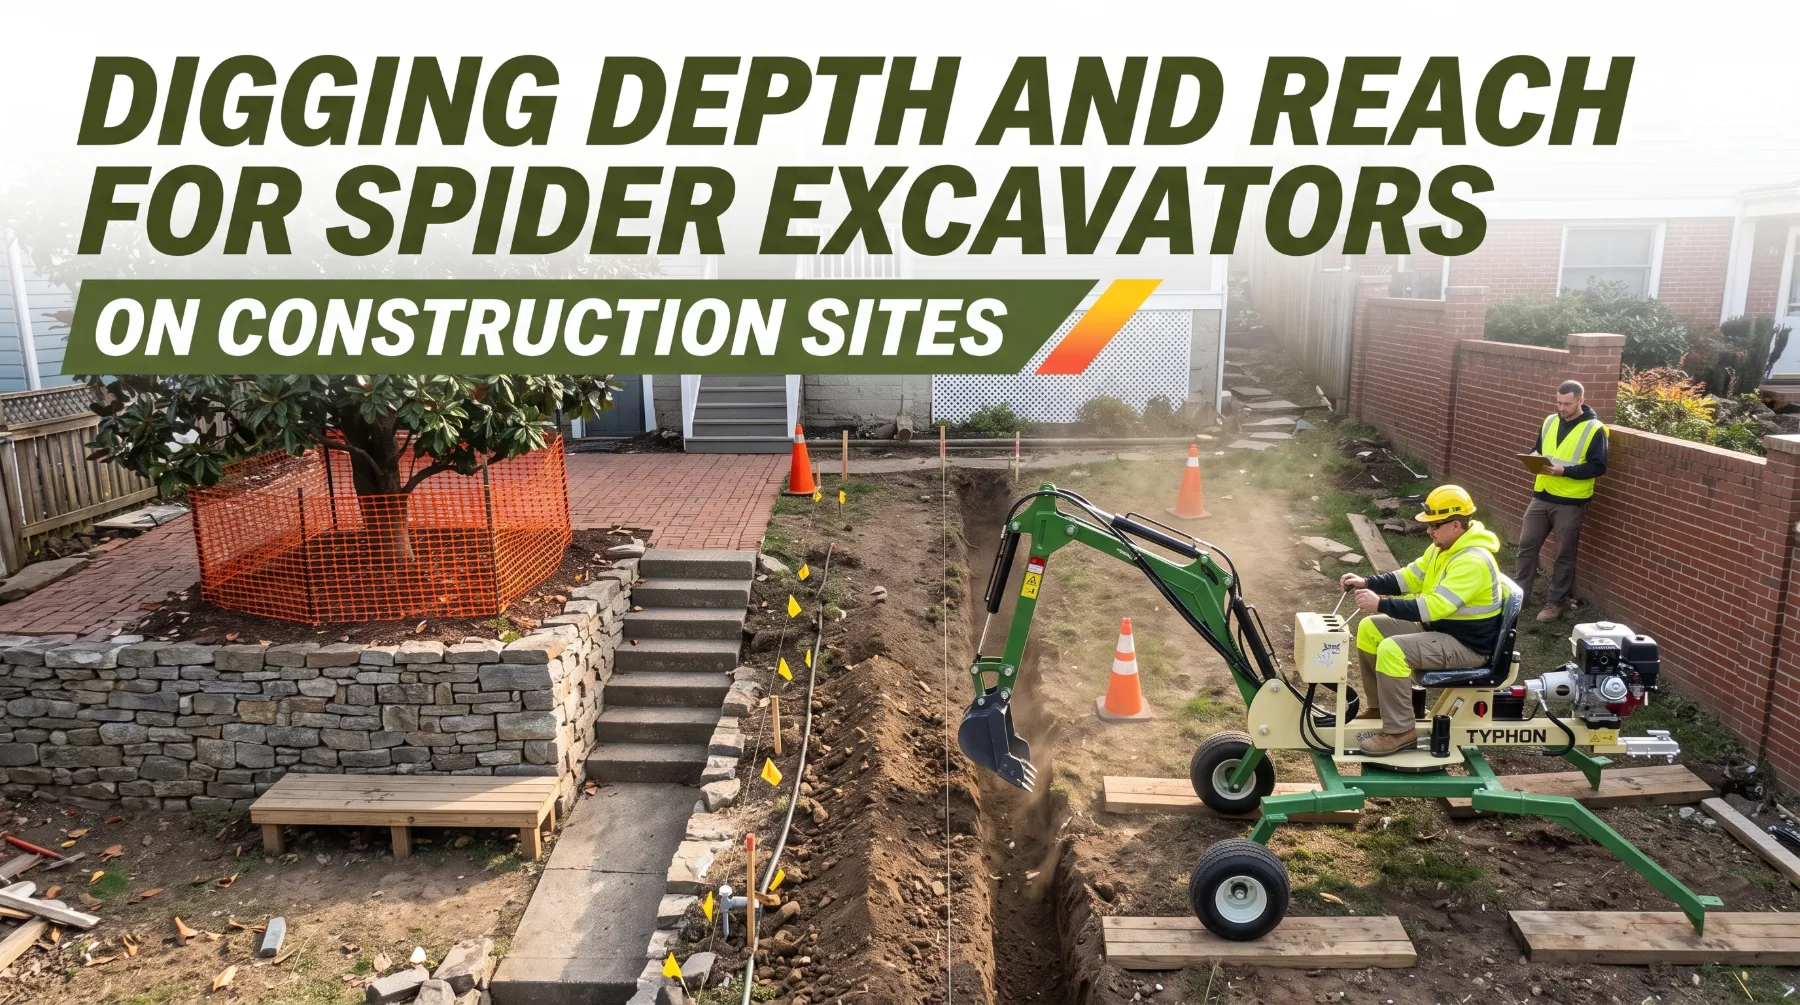
Excavation in terraced yards, steep hillside properties, and restricted urban spaces often requires careful planning around elevation changes, retaining walls, buried utilities, and nearby structures. A spider excavator may have enough nominal digging depth and reach on paper, yet still fall short when positioned on a raised terrace or configured with extended legs. Understanding the actual working envelope helps contractors avoid excessive arm extension, unstable positioning, and unnecessary repositioning.
Maximum digging depth and horizontal reach depend on the machine’s geometry, boom and arm movement, bucket configuration, and leg position. Ground elevation differences and chassis height can reduce the usable depth at the target, while working near the outer limit of reach can reduce digging effectiveness and make precise bucket control more difficult. Working range diagrams and applicable load charts help operators evaluate the machine’s capabilities under the intended setup conditions.
Effective excavation planning starts with surveying key elevations, identifying underground utilities, and matching each digging position to the required depth and reach. Keeping the machine on suitable ground, positioning the legs according to manufacturer instructions, and working within the approved operating envelope help maintain stability near trench edges and existing structures. Repositioning the machine when necessary is safer than stretching beyond its practical working range, particularly when removing heavy material or digging near property boundaries.
Understanding Maximum Digging Depth
Digging depth describes how far below the machine's reference ground level the bucket can excavate under specified conditions. Manufacturers typically measure it from the ground surface beneath the machine to the lowest point the bucket tip can reach, with the machine in a defined configuration. That configuration usually includes a specific arm length, a standard bucket, and, for spider excavators, a particular leg position. The figure helps contractors judge whether the machine can reach the bottom of trenches, drainage channels, and foundation excavations.
The key phrase is "under specified conditions." Actual usable depth depends on machine configuration, bucket geometry, and the position of the undercarriage or support legs. Raising the chassis on extended legs, a common step when leveling a spider excavator on a slope, lifts the boom pivot and reduces the depth the bucket can reach below the surrounding ground. Installing a narrower trenching bucket, a ditch-cleaning bucket, or a quick coupler can change the tip radius and shift usable depth up or down. Some models offer telescoping arms or alternative arm lengths, and each produces a different depth figure.
Many spec sheets also list a maximum vertical wall digging depth, which is often shallower than maximum digging depth. Maximum depth describes the lowest point the bucket tip can touch, often at an angle. Vertical wall depth describes how deep the machine can dig while keeping a straight, vertical trench face, which better reflects real work such as sewer laterals, footings, and utility trenches. When your job needs a square trench bottom at a specific depth, plan around the vertical wall figure.
Elevation differences matter just as much. Depth is measured from the ground the machine stands on, not from the surface where the trench begins. If the machine sits on a terrace 3 feet above the trench line, it loses roughly 3 feet of usable depth at that location. Before committing to a setup, measure the elevation of the machine position and the elevation of the deepest point in the excavation. Then compare that difference against the depth figure for your actual configuration, with margin to spare. Working at the absolute limit of depth on every pass reduces control and leaves no room for over-excavation, bedding, or grade changes.
Key takeaway: Maximum digging depth applies only to the configuration the manufacturer specifies, so account for leg position, bucket geometry, arm length, and the elevation difference between the machine and the trench bottom before relying on that figure.
Matching Reach to Jobsite Layout
Spec sheets describe what a machine can do in open space. Real jobsites rarely offer that. Restricted sites often contain walls, trees, fences, existing structures, utility corridors, and stairways that limit where a machine can stand and where its boom can swing. Before work starts, contractors should compare the excavator's working envelope with the actual excavation layout, not with a general idea of the site.
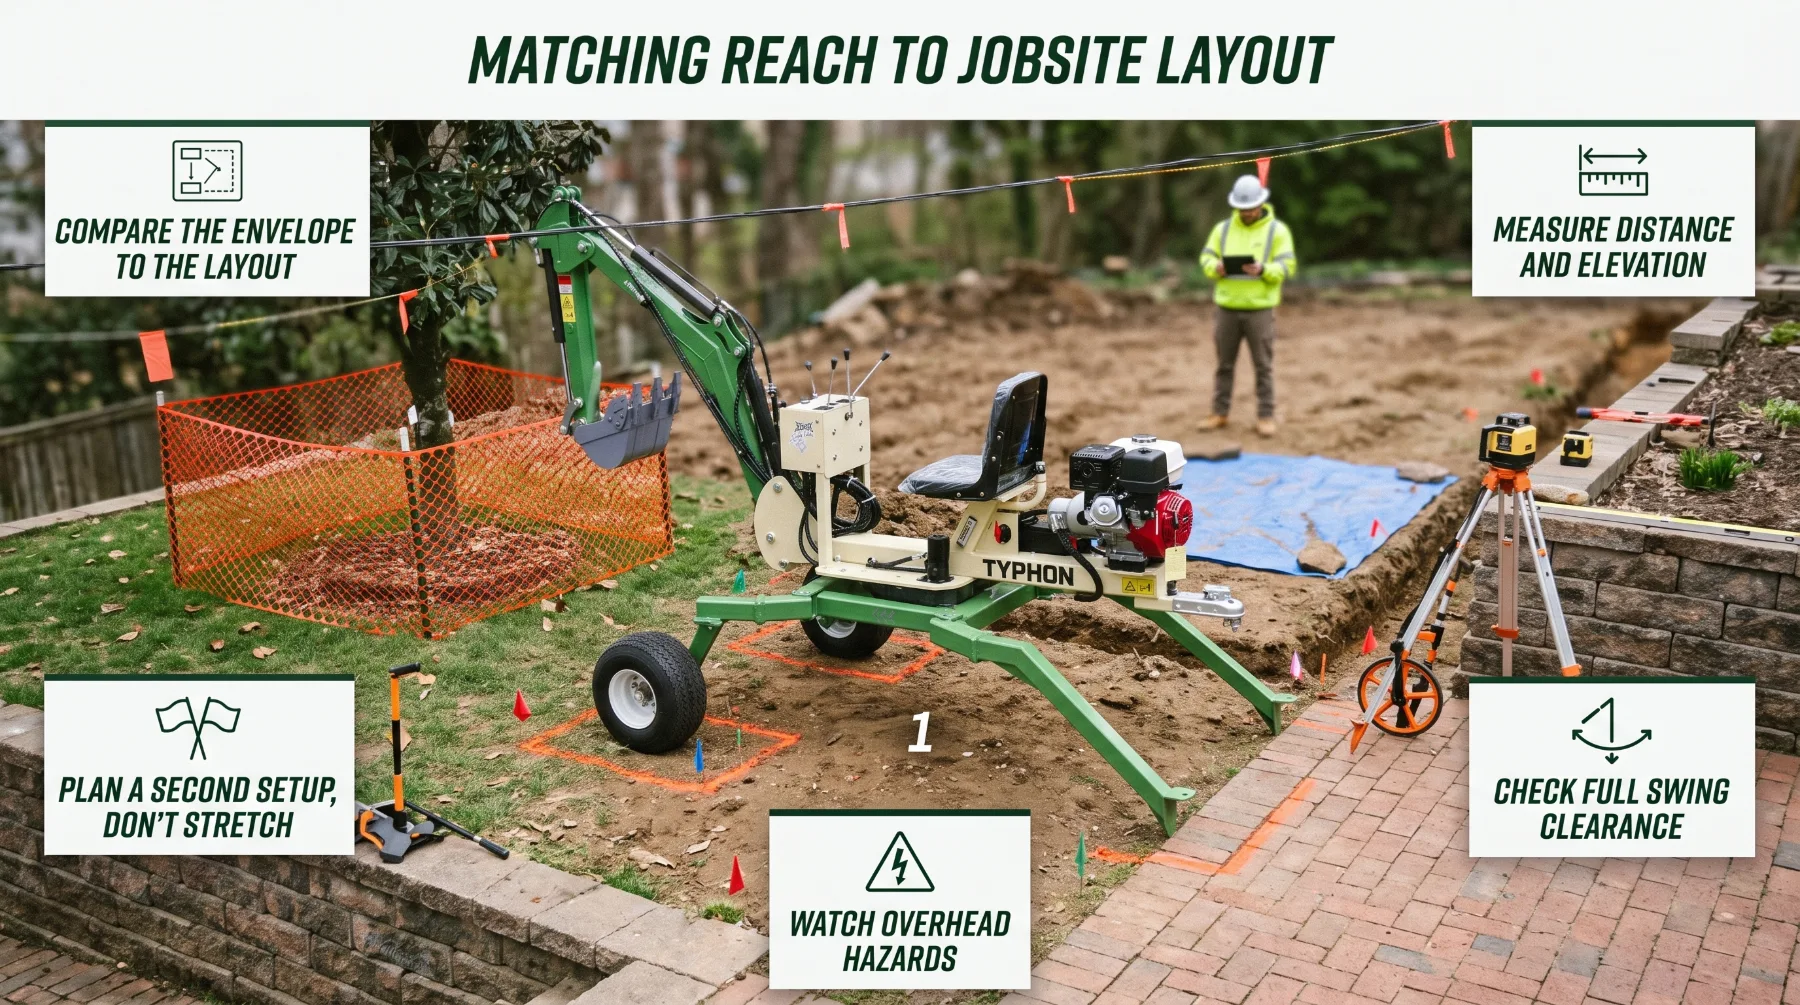
Start by sketching or marking the excavation on the ground, then identify every possible machine position. For each one, measure the horizontal distance from the swing center to the farthest point of the excavation and the elevation difference to its deepest point. Compare those measurements with the working range diagram for the configuration you'll use. If any part of the excavation falls near or beyond the outer edge of the envelope, plan a second setup rather than stretching to reach it. Two well-placed positions almost always produce better results than one position that forces the machine to work at its limits.
Swing clearance deserves the same attention as reach. The upper structure, counterweight, and boom all sweep through space as the machine swings. Check clearance to walls, trees, fences, eaves, and parked equipment around the full swing path. Look overhead for tree limbs, building overhangs, and power lines, keeping the clearance from energized lines required by applicable regulations, which in the United States is generally at least 10 feet for lines up to 50 kV. Plan where spoil will go so the operator can place it within comfortable reach, away from the trench edge and outside the path of workers.
Proper positioning reduces unnecessary movements and helps maintain access for other workers and equipment. A machine placed close to the excavation, with spoil and materials staged nearby, can complete each cycle quickly while leaving clear routes for laborers, pipe layers, and inspectors. Mark the machine's swing radius on the ground with cones or flags, and keep everyone outside it while the machine operates. When the layout leaves little room, take a few minutes to walk through the planned sequence with the crew, so everyone knows where the machine will sit and where they'll work at each stage.
Key takeaway: Compare the working envelope with the real excavation layout, plan additional setups rather than stretching to reach distant points, and check swing clearance, overhead hazards, and spoil placement before work begins.
Working on Uneven Ground
Uneven terrain is where spider excavators earn their value. Depending on the model and approved operating configuration, they can use independently positioned legs to support work on slopes, steps, and broken ground. The operator can extend, retract, and angle individual legs to keep the upper structure closer to level, which helps the machine work in places where a conventional excavator would need a constructed pad.
Leg positioning also changes depth and reach. Extending downhill legs to level the machine raises the chassis on that side, which can reduce usable digging depth. Spreading the legs wider improves stability but may change the machine's height and the position of the boom pivot. Digging downhill from a level machine may add effective depth, while digging uphill reduces it. Check the manufacturer's working range diagrams for the leg configurations you plan to use, and confirm the target depth from the actual setup rather than from a level-ground figure.
Each support point must rest on ground capable of carrying the applied load. When the machine digs, lifts, or swings, weight shifts between legs, and a single leg can carry a large share of the total load. Soft soil, recent fill, saturated ground, loose rock, buried voids, and undercut banks can give way under that concentrated weight. Probe each planned support point before setup, use timber mats or pads where the ground needs support, and keep legs well back from trench edges and drop-offs.
Operators should follow the manufacturer's limits for leg positioning, slope, and machine orientation rather than assuming every uneven surface is suitable. Many manuals specify which leg configurations are approved for digging, which are approved only for travel, and how the machine should face on a slope. Level the upper structure according to the manual before digging, use any inclination indicators the machine provides, and never override warning systems. Fasten the seat belt every time you operate. If a leg begins to sink, the machine shifts, or the ground cracks near a support point, stop, lower the bucket to the ground, and reassess before continuing.
Key takeaway: Independently positioned legs help spider excavators work on uneven terrain, but leg configuration changes usable depth and reach, and every support point must rest on ground that can carry the load within the manufacturer's limits.
Bucket Position and Digging Performance
Reaching the target is only part of the job. The machine also has to dig efficiently once it gets there. Bucket angle, boom position, arm extension, and soil resistance all affect excavation performance. Small changes in how the operator positions the bucket can make the difference between clean, productive cycles and a bucket that skips, chatters, and fills slowly.
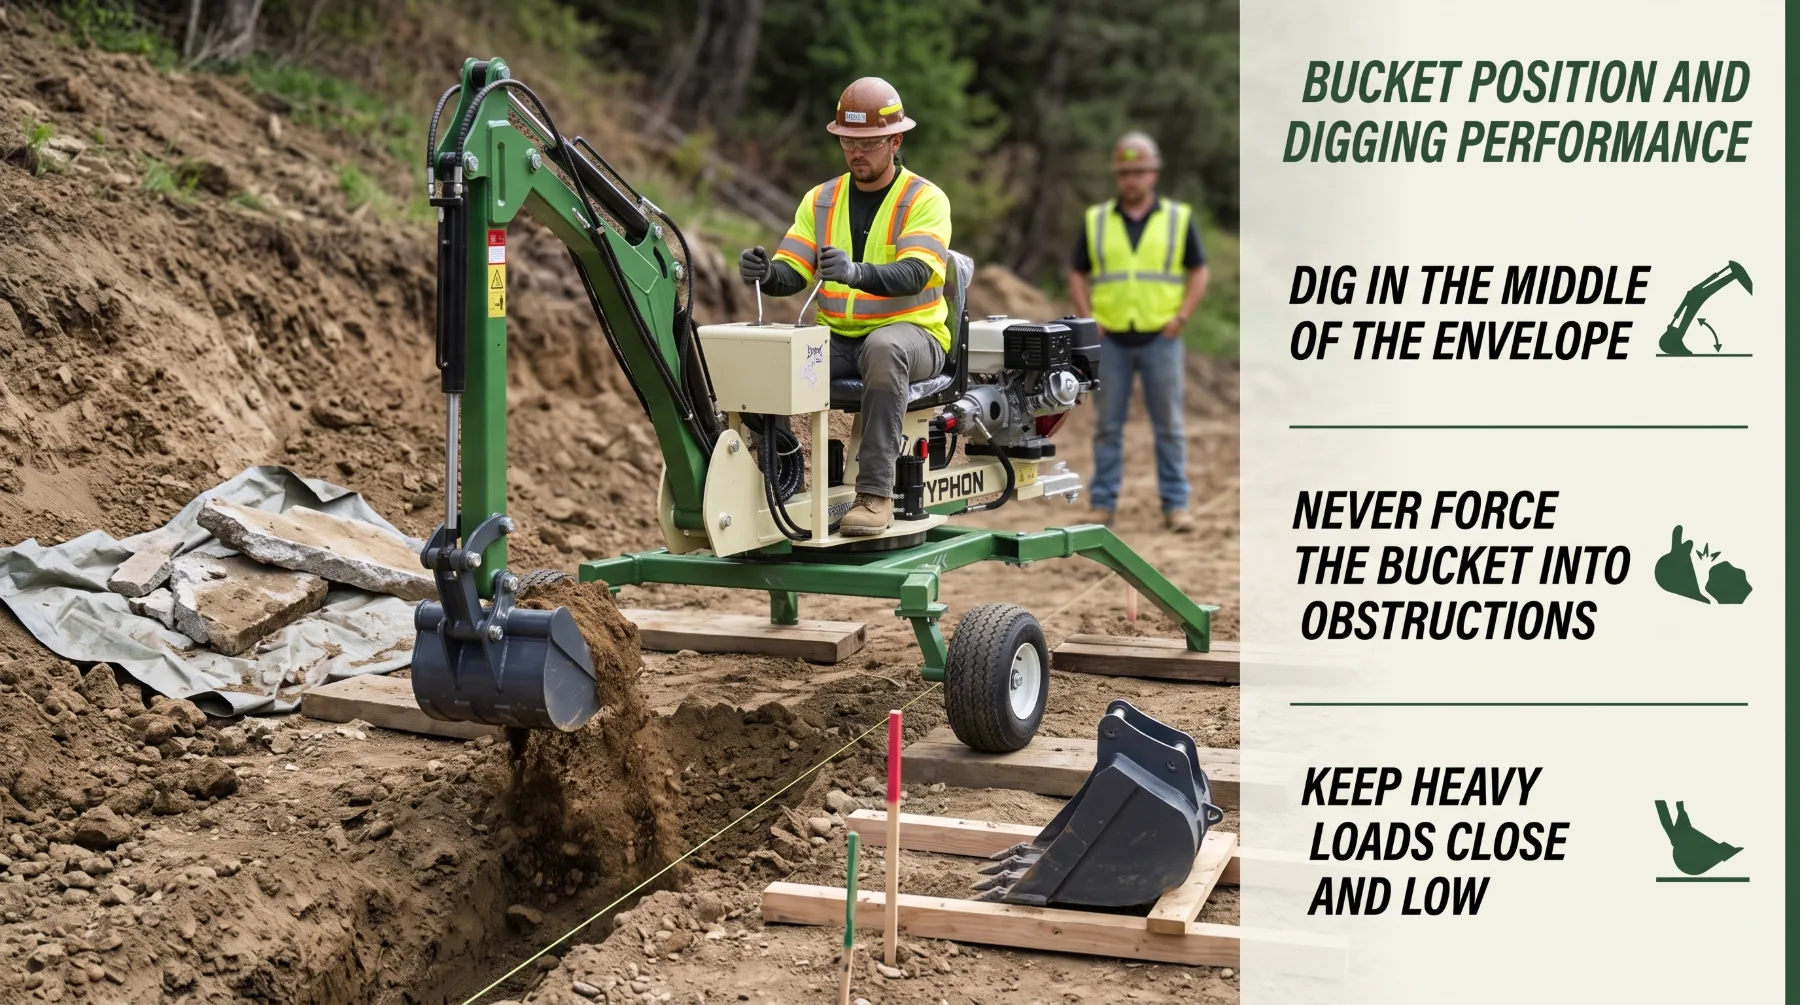
Digging force varies across the working envelope. The arm crowd force and bucket breakout force are typically strongest when the arm and bucket linkage sit near their most efficient angles, often with the arm somewhere near vertical and the bucket teeth meeting the soil at a suitable angle of attack. As the arm stretches toward its outer limit, the cylinders work at a mechanical disadvantage. Available force drops, and the bucket may slide over dense material instead of penetrating it. Working near the outer limits of reach may reduce available digging force and make precise bucket control more difficult.
Precision suffers at full extension as well. Small hydraulic movements produce larger movements at the bucket tip when the arm is fully extended, and the operator's view of the bucket often worsens with distance. That combination makes it harder to hold grade, dig along a string line, or work close to foundations and existing utilities. Positioning the machine so most digging happens in the middle of the envelope gives the operator stronger force, better visibility, and finer control.
Operators should use an appropriate digging position and avoid forcing the arm or boom against obstructions. When the bucket meets roots, rock, old concrete, or buried debris, stop pushing and assess the situation. Repeatedly ramming the bucket into an obstruction stresses pins, bushings, cylinders, and the machine's stability, especially on a slope. Break the material in smaller bites, switch to a more suitable bucket or approved attachment, or reposition the machine closer to the work. Fill the bucket to a level the machine can handle at that reach, since a full bucket of dense, wet soil at long reach can exceed safe lifting capacity. Keep loads close to the machine and low during swing.
Bucket selection matters, too. A narrow trenching bucket penetrates dense soil more easily than a wide bucket, while a ditch-cleaning bucket suits shaping and finishing grading. Confirm that each bucket is approved for the machine and that its weight is accounted for in lifting capacity.
Key takeaway: Digging force and bucket control are typically strongest in the middle of the working envelope, so position the machine to avoid working at full extension and never force the boom or arm against obstructions.
Planning Safe Excavation Movements
Every productive excavation begins with a plan made before the bucket touches the ground. Before digging, operators should identify underground utilities, confirm excavation boundaries, and check the planned movement area for people and obstacles. These steps protect the crew, the property, and the infrastructure already in the ground.
Start with utilities. Contact your local one-call locating service before any excavation, which you can reach by calling 811 in the United States. Wait the required period for lines to be marked, and confirm every utility owner has responded. Public locating services usually don't mark private lines such as irrigation, site lighting, or service lines to outbuildings, so ask the property owner and hire a private locator when needed. Within the marked tolerance zone, often 18 to 24 inches on each side of a line, expose the utility by hand digging or vacuum excavation before using the bucket.
Repositioning may be necessary when the target area lies outside the approved working envelope. That's a normal part of good planning, not a sign of a poor setup. Before moving, lower the bucket, check the new position for firm ground and clearance, and follow the manufacturer's procedure for travel and leg adjustment on uneven terrain. Use a trained spotter when visibility is limited, and agree on hand signals or radio calls before the machine moves.
Protect the people around the excavation, too. Mark the swing radius and keep workers on foot outside it while the machine operates. Never allow anyone to stand beneath a raised bucket or load. When workers must enter a trench, a competent person should evaluate soil conditions and protective measures. In the United States, trenches 5 feet deep or more generally require a protective system such as sloping, shoring, or shielding unless the excavation is made entirely in stable rock.
Key takeaway: Locate utilities, confirm excavation boundaries, keep legs and spoil back from excavation edges, and plan repositioning whenever the target area falls outside the approved working envelope.
Conclusion
Digging depth and reach help determine whether a spider excavator suits a construction task, but actual performance depends on the machine configuration and site conditions. Maximum digging depth applies to the manufacturer's specified setup, while leg position, bucket geometry, arm length, and elevation differences affect the depth achievable at each working position. Reach indicates how far the bucket can extend, but digging force, lifting capacity, and stability must also be considered near the outer limits of the working envelope. Before work, contractors should measure the elevation of each planned machine position and the deepest excavation point, then compare these measurements with the manufacturer's working range diagram and lift chart. Additional setups may be necessary when work extends beyond the practical limits of a single position. Support legs should rest on firm ground or suitable mats, with adequate clearance from excavation edges to reduce instability risks. Operators should also check swing clearance, overhead lines, spoil placement, and nearby structures, while public and private utilities must be located before digging and exposed safely within designated tolerance zones. Marking the swing radius and assigning a spotter where visibility is restricted further supports controlled operation. Reviewing the manufacturer's slope limits, leg configurations, and operating guidance helps operators plan around actual site measurements rather than maximum specifications alone, improving digging accuracy, reducing unnecessary repositioning, and supporting reliable project results.
Frequently Asked Questions
What does digging depth mean for a spider excavator?
It's the maximum vertical depth the bucket can reach below the machine's reference ground level under specified conditions. Those conditions usually include a defined leg configuration, arm length, and bucket. Raising the chassis, changing the bucket, or setting up above the trench line can reduce usable depth, so confirm the figure for your actual configuration.
Does greater reach always improve excavation performance?
No. Reach may reduce repositioning, but available digging force and lifting capability vary across the working envelope and typically decrease toward its outer edge. Precision and visibility also suffer at full extension, so most productive digging happens closer to the middle of the envelope.
Can spider excavators dig on uneven terrain?
Some models are designed for uneven terrain, but operators must follow the manufacturer's limits for slope, support-leg position, and ground conditions. Every support point must rest on firm ground, and leg configuration can change usable depth and reach.
How should contractors assess reach before a project?
Compare the machine's working envelope with the excavation layout, access restrictions, utility locations, and required digging depth. Measure distances and elevations from each planned machine position, read the lift chart alongside the working range diagram, and plan extra setups for any area near the edge of the envelope.
COMMENTS (0)
LEAVE A REPLY